
How to install a roller blind
Installing roller blinds is easy; with little more than a drill you can do it by yourself in a few simple steps.
Simply follow these steps and you’ll see that the most complicated part is... choosing the blind you like best!
-
Centre the roller blind, taking the window frame as your reference
-
Fix the brackets to the ceiling or to the wall
-
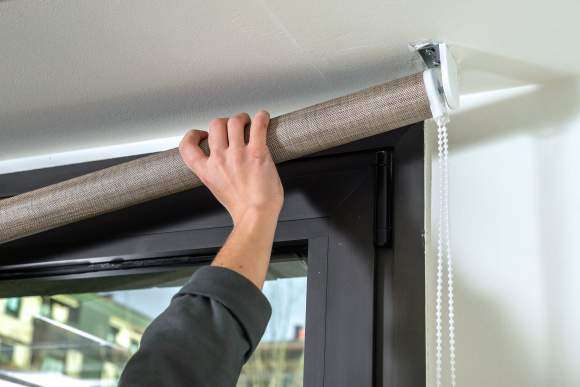
Fit the roller blind onto the brackets, starting with the chain side
-
Check that everything’s level and enjoy your roller blind
And if you still have doubts, continue reading for more detailed explanations.
Before getting on with your handiwork, don’t forget to check a couple of points.
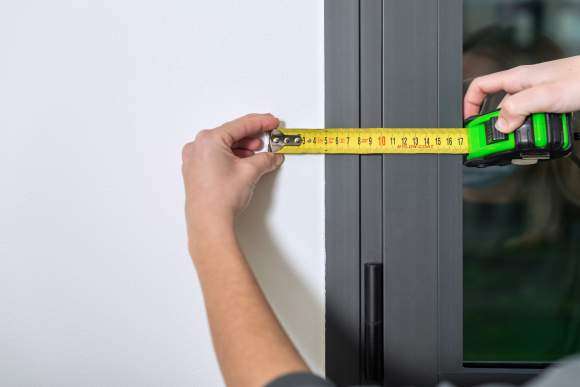
First of all, choose where you want to hang the roller blinds. Measure the window carefully and decide on the size that suits you best. Remember, you can always adapt the width of your roller blinds thanks to the service offered by Leroy Merlin at its stores. Although these details will probably become clear when you’re choosing your roller blind measurements, if they don’t, we invite you to read this article: How to measure the window
The next step is to make sure that you have all the parts. Ansar Deco roller blind packs come with the blind itself and a small plastic box containing all of the parts you’ll need. Inside you’ll find the mechanism, consisting of a control chain and idle (spring) end, two brackets with covers, four rawlplugs with their respective screws and the chain tensioner for child safety. And if your roller blinds are from our new collection, inside the pack you’ll find a template to make fitting the roller blind even easier.
Also check that the mechanisms match the diameter of the blind tube, and that these in turn fit into the brackets. The mechanisms are interchangeable; i.e. the control chain can go either on the right or the left. However, the brackets are specific for each one, meaning that you should take good care to use the right one so that you don’t have to change them round at a later date.
Lastly, make sure you have a pencil, metal ruler, spirit level, screwdriver, drill, drill bit, masking tape and padded hammer to hand (the last two are optional). So let’s get started.

Step 1: Centre the roller blind
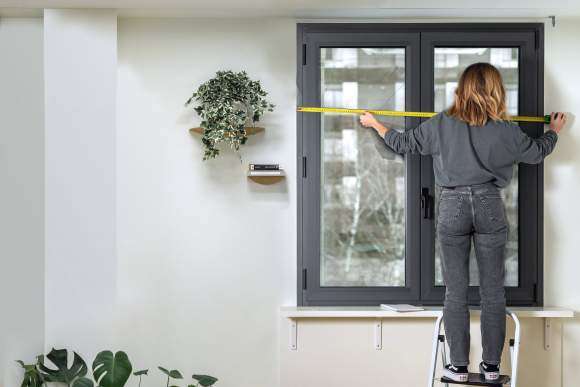
This is very important if the window has space on either side. The easiest way is to measure the width of the window frame, divide it into two and mark this middle point with the help of the ruler and the pencil.
If you’re fitting the roller blind to the wall, taking the centre as your reference, mark a point 10 cm above the window frame. In other words, identify the height at which you’re going to install the roller blind. For ceiling installations, mark the centre on the ceiling and, from there, draw a point at least 1.5 cm out from the wall. It is important to remember that this distance of 1.5 cm should be calculated from any obstructions jutting out from the window, such as the handle.
Now take the template and fix it in place with a little masking tape at the point you have marked. Here you should use the spirit level to make sure it is straight. Finally, with a pencil, mark the four holes in the corners of the stencil; these are the points where you should fix the brackets.
If you don’t have a template, the easiest way is to directly hold the roller blind with its mechanisms and brackets in place, and to use the holes in the brackets as your guide.
Tip: When marking the drilling points, do it with a cross. This will make drilling easier.
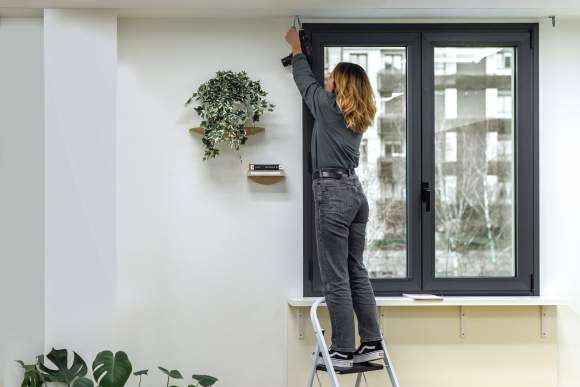
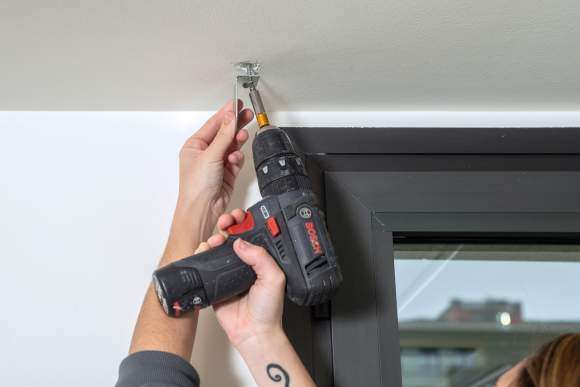
Step 2: Fixing the brackets in place
Now it’s time to install the brackets; start with one for the control chain, followed by the one for the idle end. With the bit fitted to the drill and having set the depth (that way you won’t drill too far into the wall), drill the holes from a perpendicular position into the crosses you have just drawn. Put the rawlplugs into the holes and tap them gently using a padded hammer or the handle of a screwdriver until they are completely inserted and flush against the wall. Now the only thing left to do is to screw on the bracket and to repeat the process for the other side.
Tip: Stick an envelope just under the crosses; that way the dust will fall into it while you’re drilling the holes and you won’t make a mess.
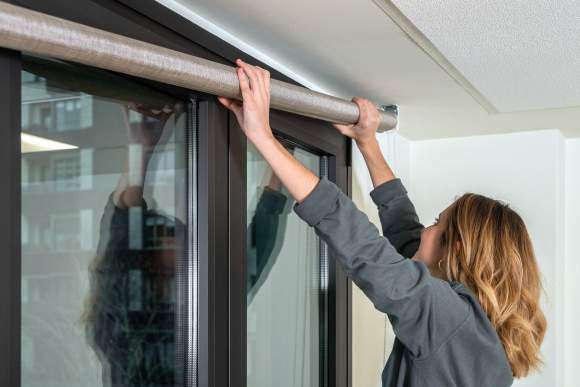
Step 3: Click and that’s it!
Applying a little pressure, slip the mechanisms into either end of the roller blind. Next, fit the control chain into its bracket, followed by the idle end, pressing it lightly (it has an interior spring) so that you can slip it into place... and click, it’s in! Your roller blind is now ready to use.
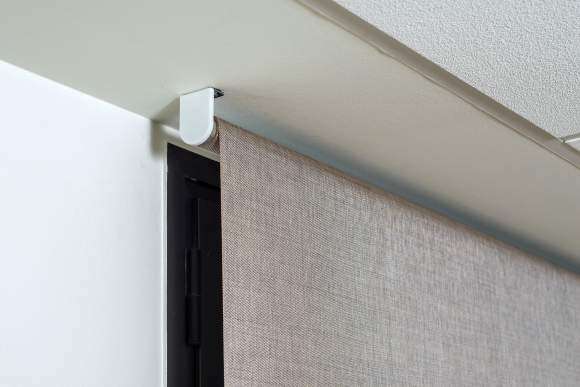
Step 4: Final checks
Now that you’ve installed the roller blind, the only thing left to do is check that it’s straight and that you haven’t left too much space between the tube and the brackets. If there is too much space, simply loosen the brackets screws a little and use the wriggle room to move and adjust them.

Optional step: When you have children in the house
If you have small children, to guarantee their safety it is important to fit the chain tensioner. To do this, clip the chain onto the tensioner, pull it gently into place and mark the position of the screws. Make the holes and fix the tensioner in place. To finish, and the most important part, clip the chain back onto the tensioner.
So that’s today’s article. If after reading it you still don’t think you’ll be able to do it yourself (although deep down you know you will), when purchasing our blinds at Leroy Merlin you can order an installation service so that you don’t have to worry about it and can simply get on with enjoying your home.